
If you photograph whitetail deer, your day is decided in about ninety minutes: the first hour after sunrise and the last hour before sunset. That is when deer move — and when your camera has the least light to work with.
Start here: manual mode with Auto ISO, lens wide open, shutter fast enough for a head turn, continuous autofocus with animal eye detection if your body has it, and continuous drive. Then adjust for one thing only — how much light you have.
These are starting points, not commandments, framed around a long telephoto at dawn — the setup behind most of the whitetail work on this site is a Nikon Z9 with a 500mm f/5.6 prime — but the logic transfers to any long lens. See also [INTERNAL LINK: How to Photograph Whitetail Deer: A Hunter's Fieldcraft Guide].
A starting-settings for dawn
Set this in the dark, at home or at the truck — not when a deer is in front of you.
Mode:
Manual + Auto ISO
You control shutter/aperture; ISO floats with the light
Shutter speed:
1/250 sec
Freezes a standing deer and most head turns
Aperture:
Wide open
You need the light; depth of field is already thin.
ISO:
Auto, ceiling set in advance (e.g., 6400–12800)
Decide your noise tolerance beforehand.
Autofocus:
Continuous AF (AF-C), animal/eye detection on
The eye is what has to be sharp
The first hour: what to change as light rises
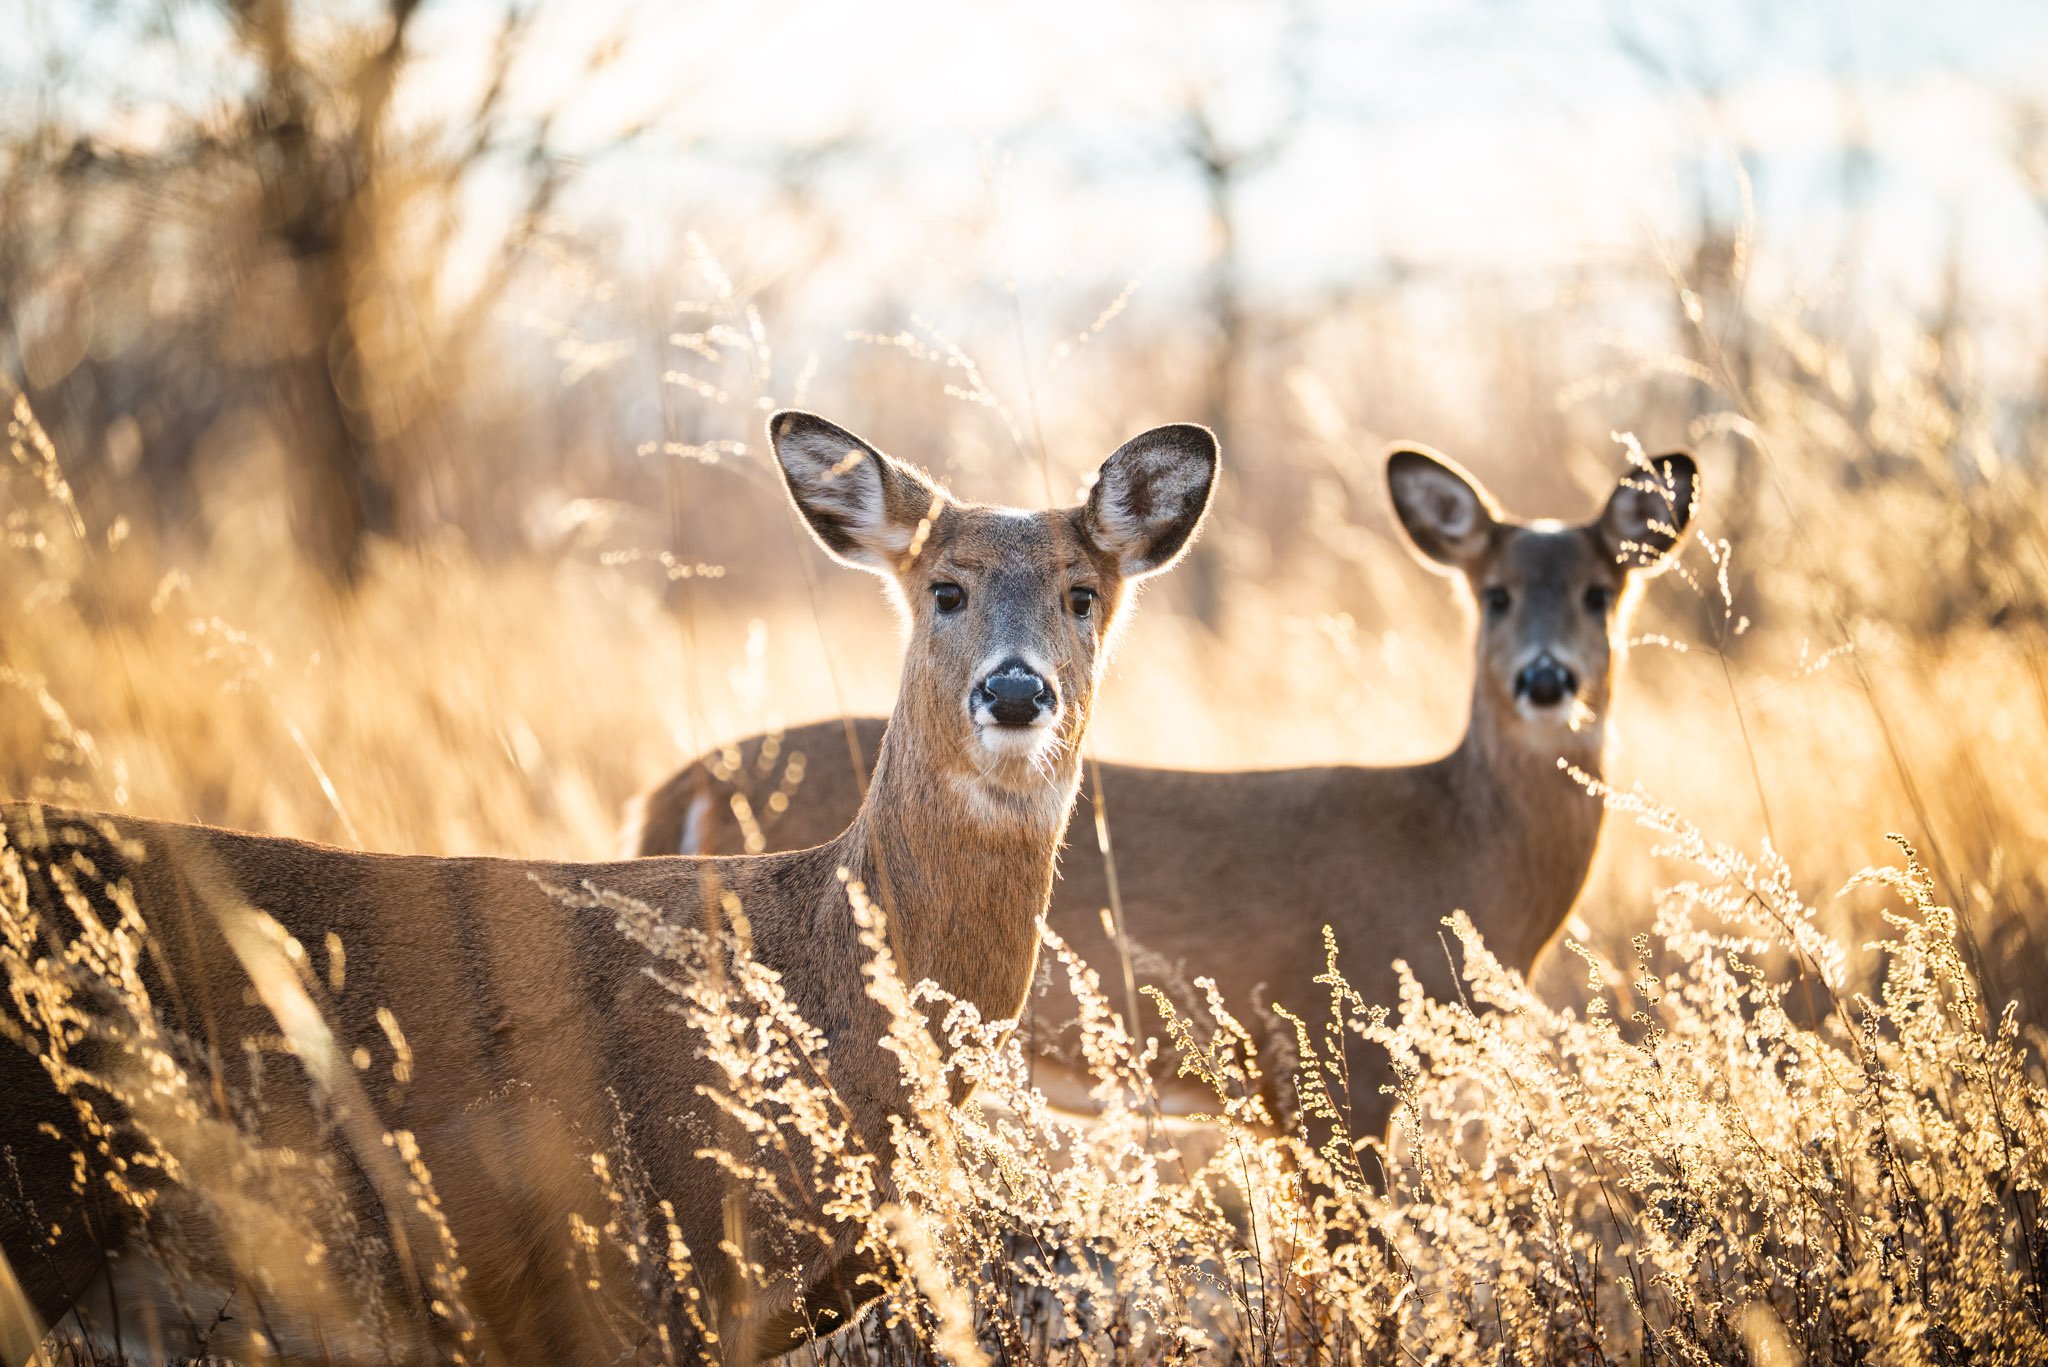
Two whitetail doe at dawn in a golden field. Photograph by Dominick Gatto, NY 2021.
Pre-dawn, you may be below your shutter floor before you see a deer. That is normal. As light builds, adjust in this order.
First, let ISO fall on its own; Auto ISO handles it. Second, with light in reserve, buy shutter speed before anything else — a standing deer can be trotting in one step, especially in November. See Photographing the Whitetail Rut: What Changes, Week by Week. Third, only then consider stopping down, and at whitetail distances you rarely need to.
Make changes in the gaps, when no deer is in view — so when one steps out, your only job is composition.
Metering a deer against dark woods
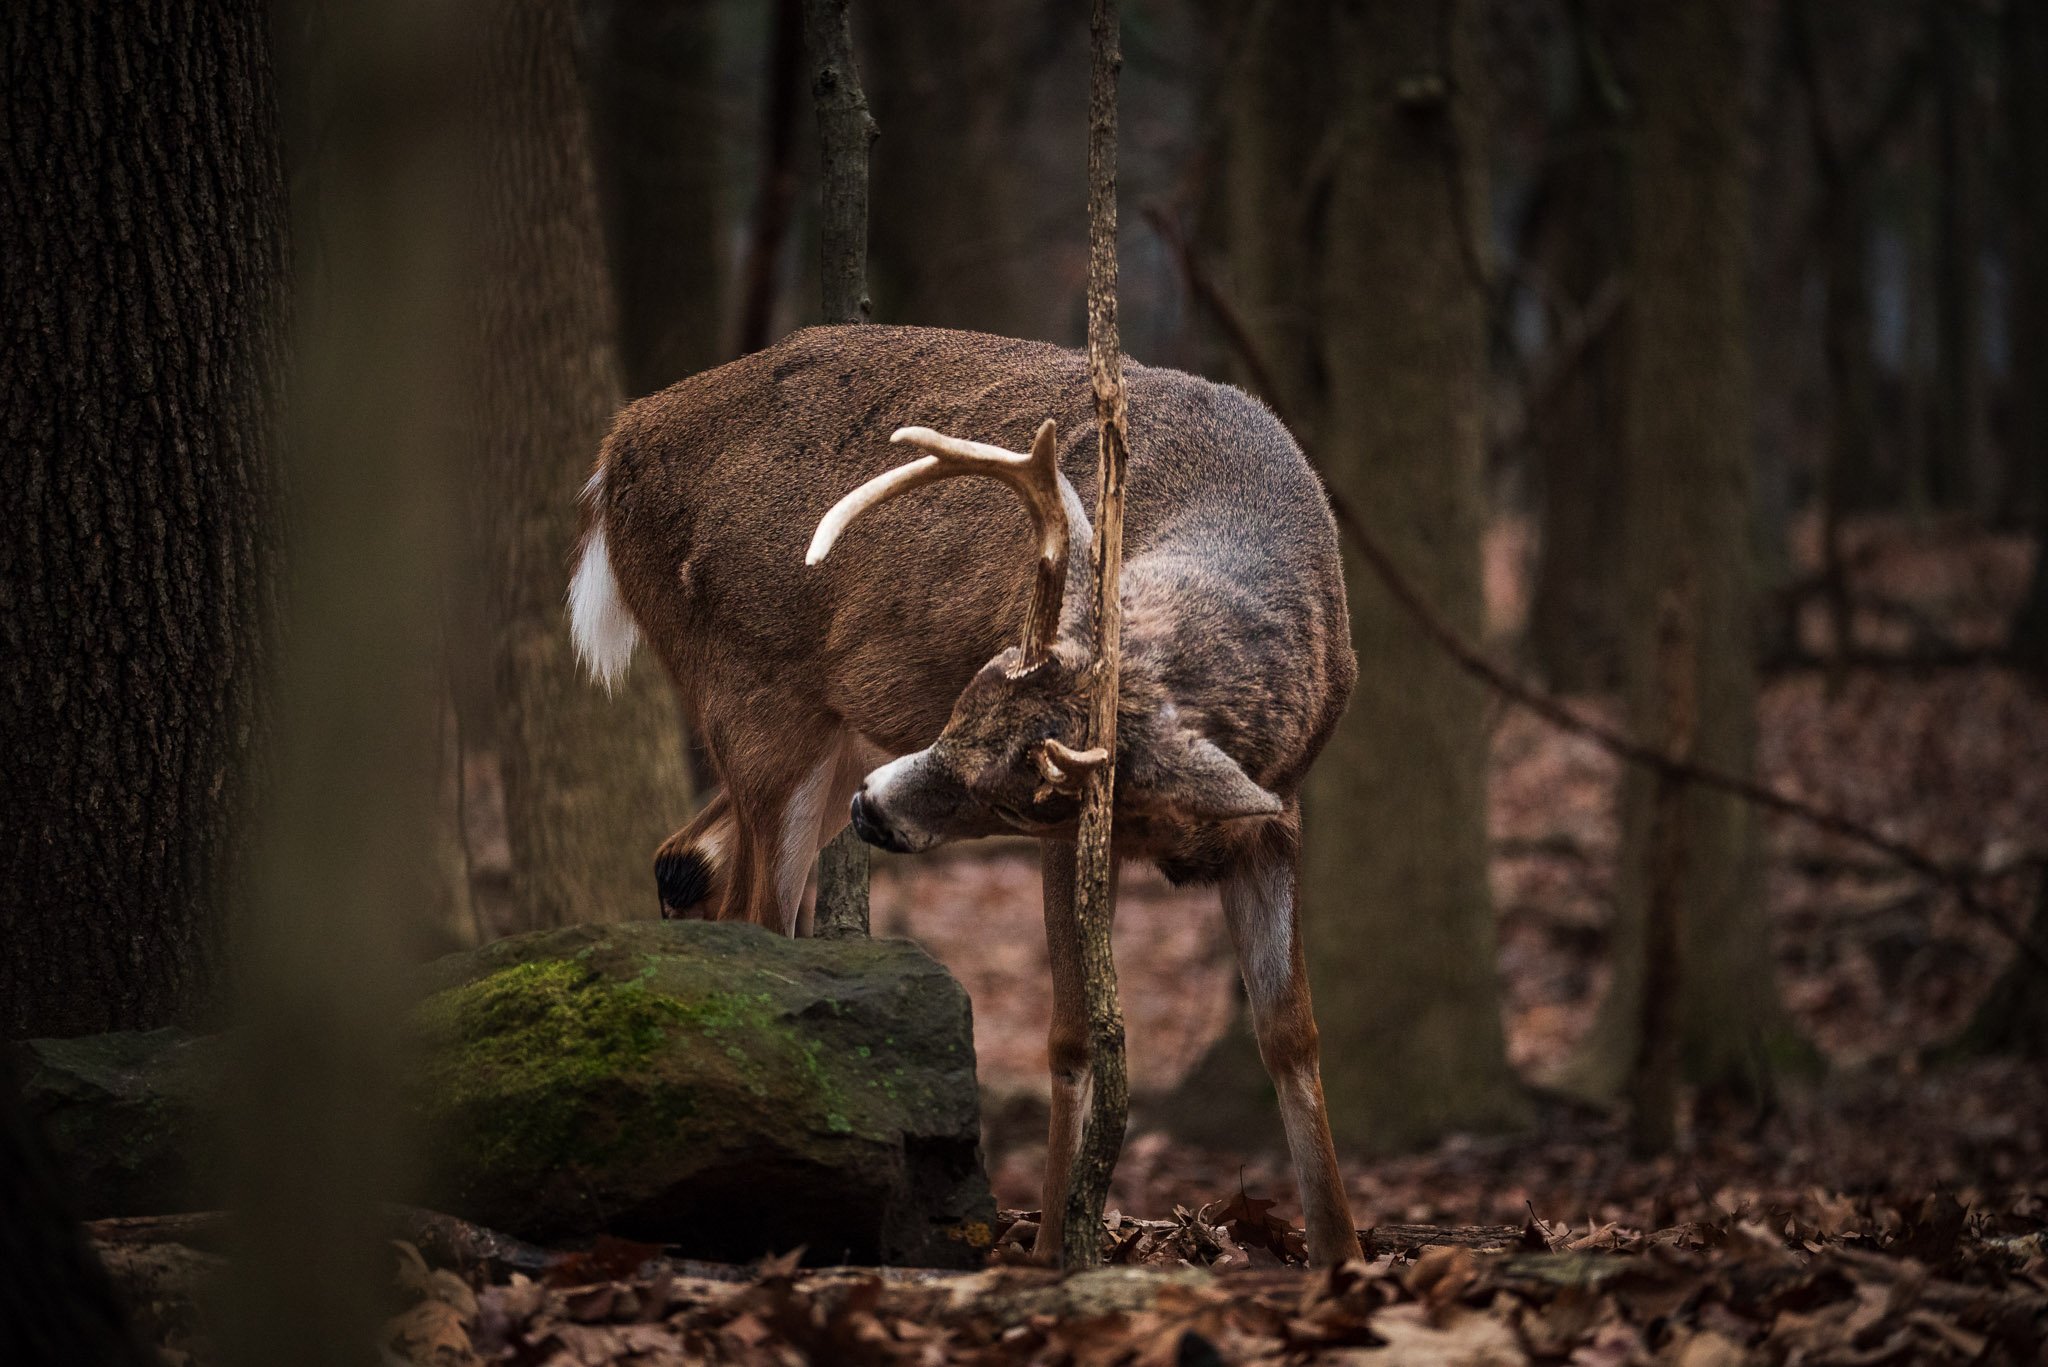
A whitetail buck rubbing his antlers on a sapling. Photograph by Dominick Gatto, NY 2020.
A whitetail is a mid-tone animal that spends first light in front of a dark one: shaded timber, brush, a hillside still in shadow. Your meter does not know which you care about, and averaged across the frame it gets the deer wrong in both directions.
The working answer is exposure compensation, used actively: dial toward the deer — typically a third to a full stop down when the background is brighter than the deer, up when dark timber fools the meter into overexposing. No fixed number exists; anyone who gives you one has not shot your woods. The fixed habit: shoot a test frame before a deer is in the scene, check the histogram, and set compensation at the light you expect.
The noise-vs-blur decision (make it now, not out there)
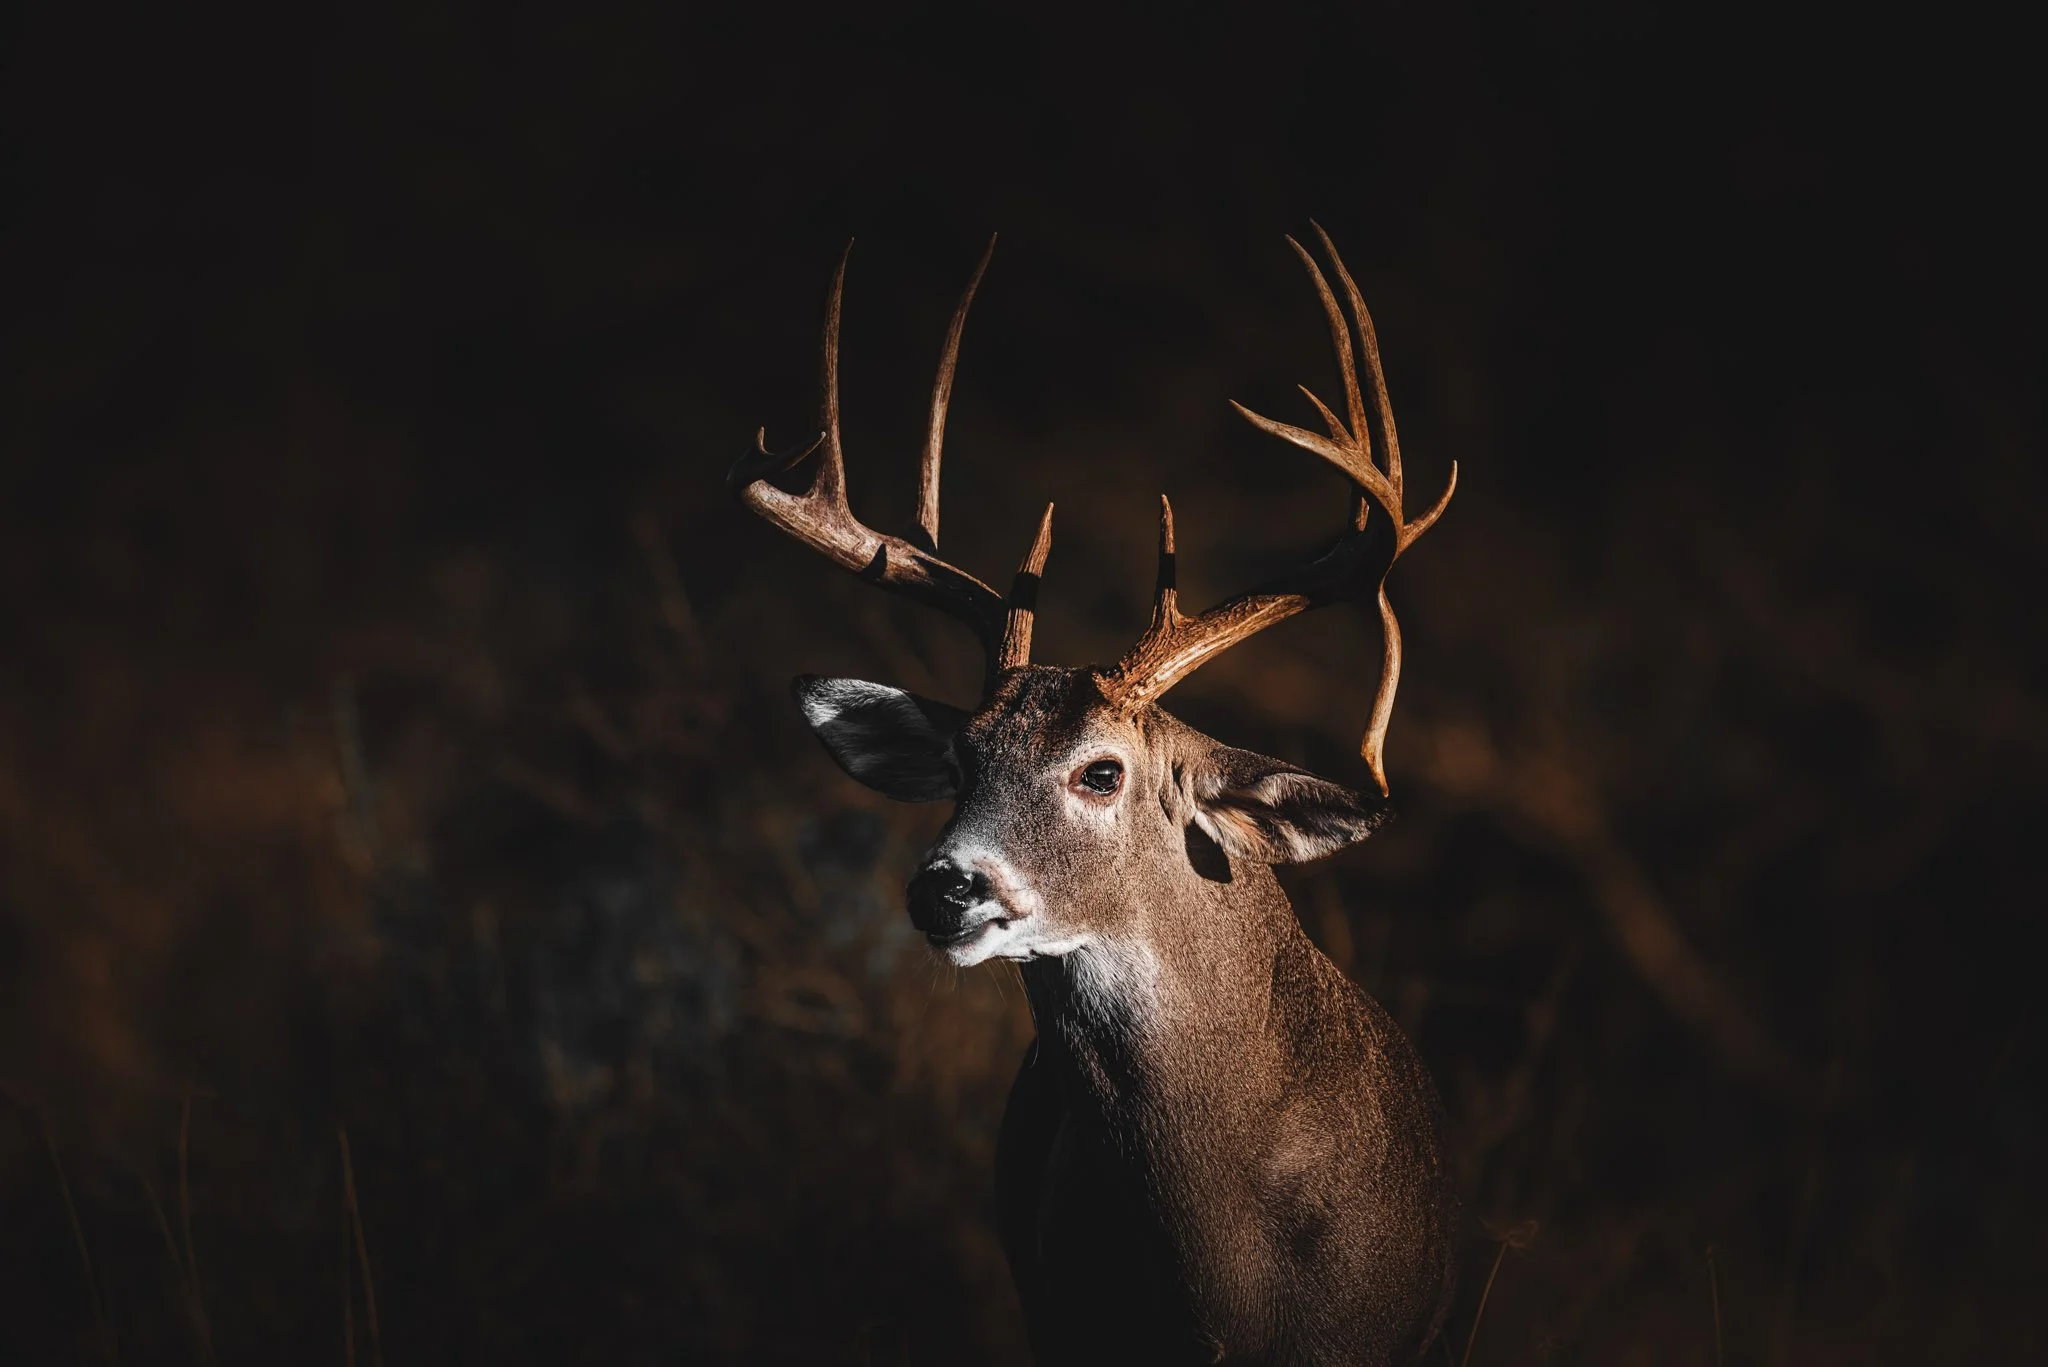
A whitetail buck with drop-tine antlers standing in first light. Nikon Z5, 1/500, f/5.6, ISO 6400. High noise from the low light, but still a sharp image. Dominick Gatto, TX 2022.
Every first-light whitetail photographer hits the same fork: the light only supports your settings if ISO goes up (noise) or shutter comes down (blur). Choose noise. Every time.
Blur is unrecoverable, and it hides in exactly the wrong place — the eye, the ear edge, the head turn that made the shot. Noise is a texture. A sharp high-ISO frame cleans up well; a smooth frame that is soft does not. Nobody cares about your noise floor; everyone sees a blurred eye.
Set your Auto ISO ceiling where your files genuinely hold up, and when the light forces the choice, let the camera climb. One exception: a deer statue-still in near darkness, where a slower shutter is a deliberate risk, not a default.
Last light is not first light in reverse — almost
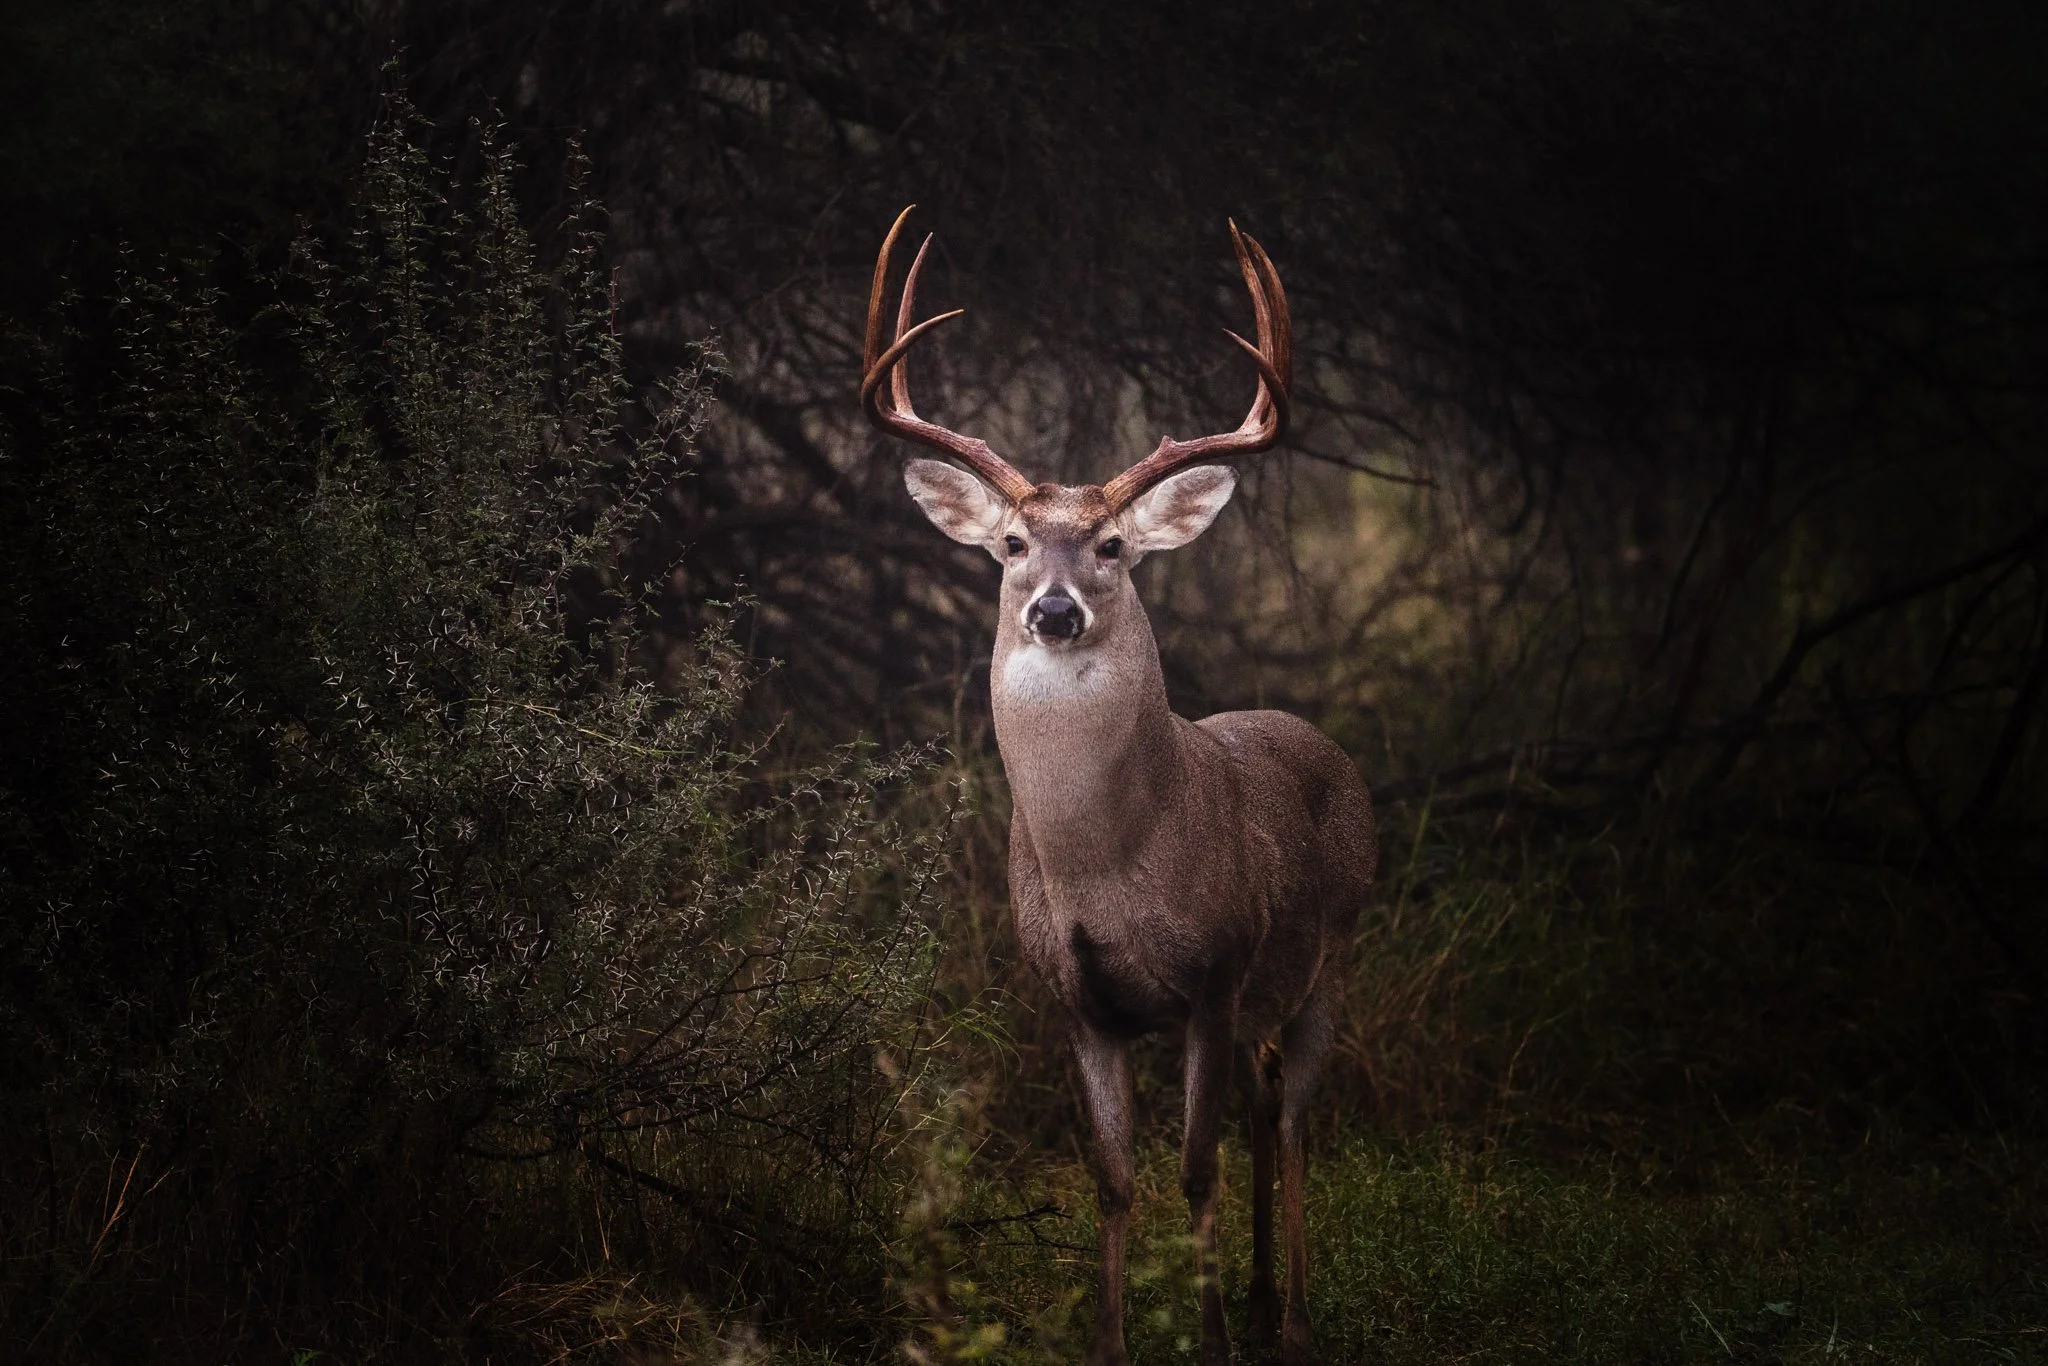
Whitetail buck at dusk standing near the tree line. Higher ISO, but a sharp photograph. Nikon Z5, 1/250, f/5.6, ISO 12800. Dominick Gatto, TX 2022.
The logic at dusk is the same, but the direction is opposite: every minute takes light away — and deer often make their most photographable move, stepping to a field edge, in those final minutes.
Plan in reverse: raise ISO earlier than feels necessary, and decide in advance what your floor is — the light level at which you put the camera down and just watch. Drawing that line before a buck steps out is the difference between a photographer and a gambler.
Common mistakes
Chimping in the dark. Reviewing frames on a bright screen costs your night vision and puts your eyes in the wrong place when a deer arrives. Check the test frame, then leave the screen alone.
Yesterday's settings. Walking in with the camera set for bright midday — wrong ISO cap, wrong drive, compensation still dialed. The check happens at home, the night before.
Shutter too slow for a head turn. A standing deer is not a still subject. Ears flick, heads snap up — and a shutter chosen for a statue blurs exactly that moment.
Stopping down out of habit. At dawn, aperture is light, not depth of field. Shooting f/8 because it feels safer costs a stop you did not have.
The takeaway
First-light settings are not a secret combination. They are a priority order: lens open, shutter fast enough for a deer that moves without warning, ISO allowed to do its job, focus on the eye — all set before the deer arrives, so your only job at the shot is being still, ready, and watching.
FAQ
What are the best camera settings for whitetail deer at first light?
Manual mode with Auto ISO, lens wide open, around 1/500 sec, continuous AF with animal eye detection, continuous drive. Adjust shutter first as light changes.
What ISO is too high for deer photography?
No universal number. A sharp, well-exposed high-ISO frame is usually very usable; a blurred low-ISO frame is usable at no setting.
Should I use Auto ISO for wildlife at dawn?
Yes, in manual mode. You fix shutter and aperture; Auto ISO absorbs the changing light instead of you chasing dials.
Why are my dawn deer photos dark?
Usually metering: a mid-tone deer against a darker or brighter background fools an averaged meter. Dial compensation toward the deer; check a test frame's histogram first.
Is last light harder than first light?
In one way, yes: the light only decreases, so your window closes instead of opening. Plan ISO and your cutoff in advance.
Go deeper
Settings get you a sharp frame. They do not get you the deer. The system for the rest — wind and sign, choosing a sit, earning close encounters — is The Hunter's Guide to Wildlife Photography.

The Wild Doesn’t Wait for You
The Hunter’s Guide to Wildlife Photography is not a technical manual. You won’t find pages of charts, gear lists, or step-by-step settings for every scenario. Instead, you’ll learn the quiet skills that hunters have relied on for generations - patience, awareness, and the ability to disappear into the environment - and how to turn those instincts into images that hold the wild within them.
Out here, there are no second chances. The moments worth capturing appear without warning, and they vanish just as quickly. The best images aren’t the product of perfect camera settings - they’re the result of reading the wind, knowing the light, and moving as if you belong in the landscape.
Every lesson comes from the field: long sits in the cold, the electric stillness before a deer steps into view, and the discipline to wait for a single moment that tells the whole story.
If you’ve ever wondered why some photographers seem to be in the right place at the right time, it isn’t luck. It’s fieldcraft.
And you’re about to learn it.
Included in this digital purchase are PDF and EPUB files which have been formatted for use on popular devices and apps including Kindle, Apple Books, Google Play Books, Kobo, Nook, and most computers, tablets, and smartphones.
